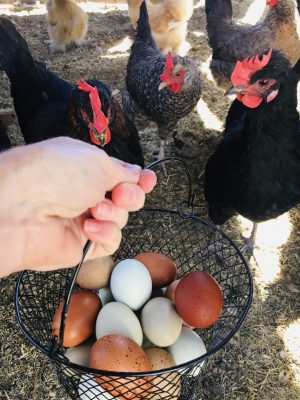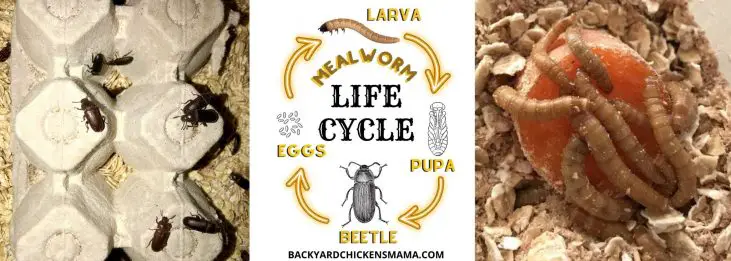
Mealworms are a very tasty, nutritious treat for your pet, but can get very pricey buying at your local pet store. Instead, why not learn how to breed mealworms at home? Breeding your own mealworm farm is simple to do, inexpensive and can provide a never ending food supply for your pet.
Feel free to jump ahead, by clicking any of the links below. It will take you right to the section that you are interested in learning more about.
- Mealworm Breeding Setup- 3 Tier System
- Step 1: Start by Getting a Plastic, 3 Drawer Shelf
- Step 2: Modify Top Shelf – Darkling Beetle Shelf
- Step 3: Purchasing Mealworms
- Step 4: Adding Substrate to Your Mealworm Farm
- Step 5: Feeding Your Mealworm Farm
- Step 6: Larvae Turn to Pupae
- Step 7: Pupae Turn to Darkling Beetles
- Step 8: Beetles Lay Eggs
- Step 9: Feeding Your Chickens and Lizards Mealworms
- FAQ – Breeding Mealworms
- Conclusion: How to Breed Mealworms at Home- Best Home Setup Guide
| BENEFITS OF BREEDING YOUR OWN MEALWORMS |
|---|
| KEEPS YOUR PETS HAPPY AND HEALTHY |
| GECKOS, BEARDED DRAGONS, LIZARDS NEED INCREASED PROTEIN TO SURVIVE |
| CHICKENS AND DUCKS NEED INCREASED PROTEIN DURING MOLTS AND AS AN OCCASIONAL TREAT. |
| NEVER ENDING SUPPLY OF MEALWORMS |
| SAVES MONEY |
As a pet owner, we want to keep them happy and healthy. Some pets, such as geckos, bearded dragons and lizards require protein in their daily diet to survive. Others, such as chickens and ducks, need the increased protein found in mealworms during times of stress or just as an occasional treat.
| WHEN TO FEED MEALWORMS TO CHICKENS & DUCKS |
|---|
| DURING MOLTING |
| DURING RAPID GROWTH |
| DURING EGG LAYING |
| DURING ILLNESS |
| AFTER TRANSPORTING |
| AS AN OCCASIONAL TREAT |
Mealworm Breeding Setup- 3 Tier System
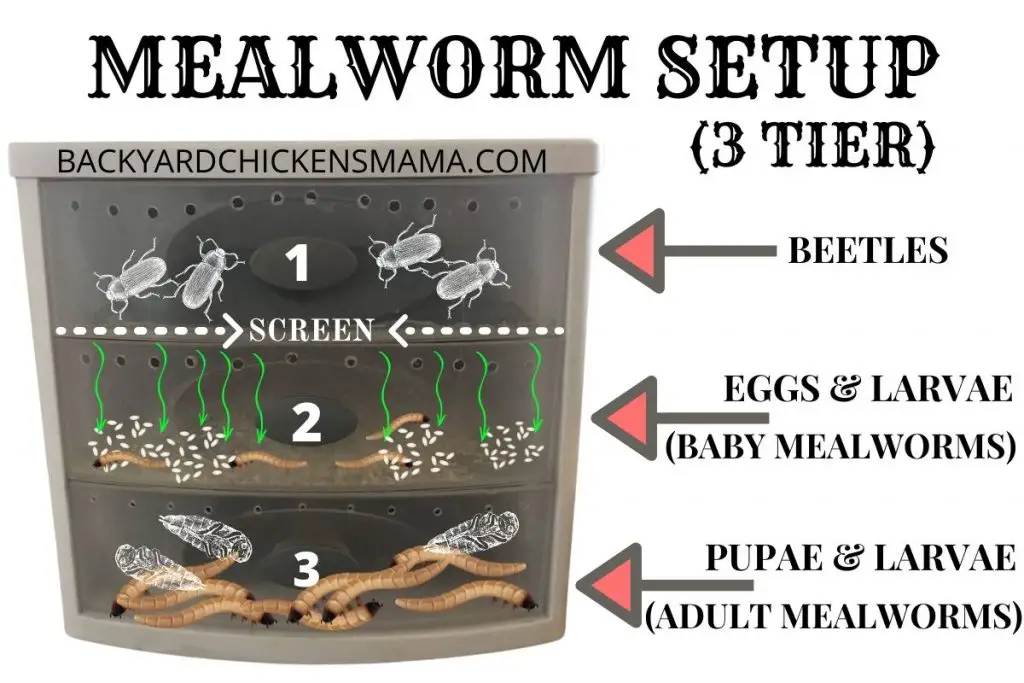
By making your own 3 tier mealworm breeding setup, the amount of work that you have to do is very minimal and it will provide you with a never ending supply of beetles, larva and pupa that you can feed to chickens, ducks, bearded dragons, geckos and many other reptiles and amphibians.
Step 1: Start by Getting a Plastic, 3 Drawer Shelf
You can get 3 drawer shelves for a good price on Amazon. The top drawer is for beetles, middle for eggs and baby mealworms, bottom for adult mealworms and pupae.
How Much Space do You Need to Breed Mealworms?
It doesn’t take that much space at all to breed mealworms. Whether you want to breed on small or larger scale, the 3 tier system setup is still compact enough to fit on your desktop.
•The small set measures 8.5″(L) x 7. 25″(W) x 6.875″(H).
•The larger unit, which is still pretty compact, measures just 13.5″(L) x 10-7/8″(W) X 9-5/8″(H).
Step 2: Modify Top Shelf – Darkling Beetle Shelf
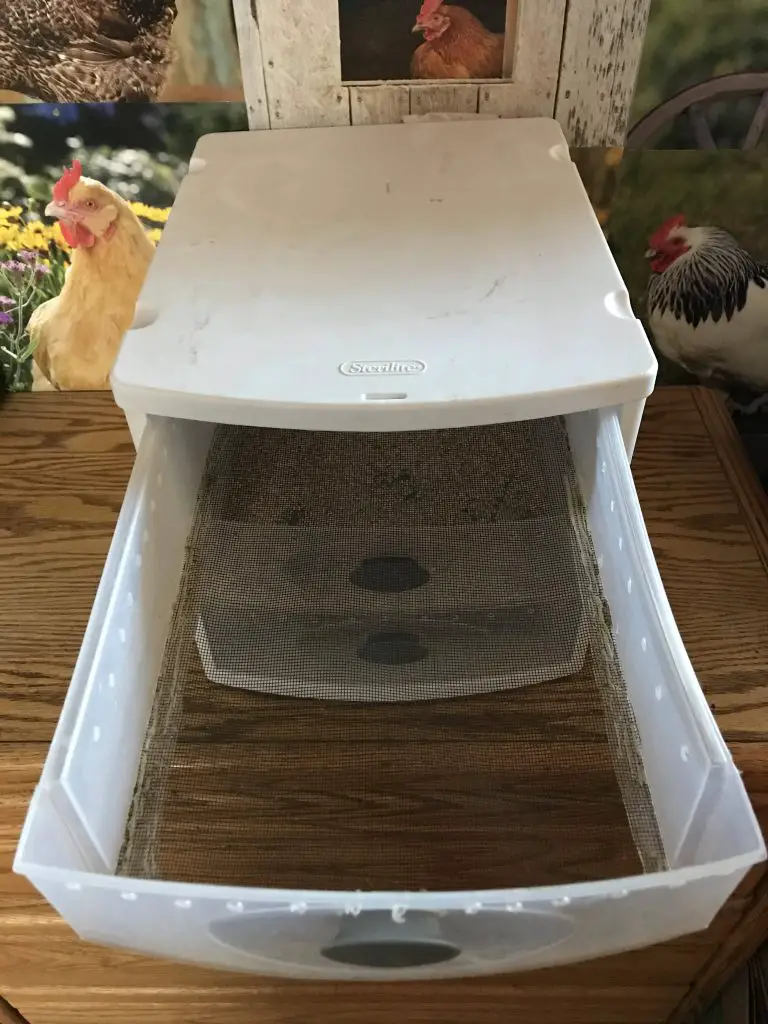
The top shelf is for your darkling beetles. The adult female beetles will lay up to 500, 2 mm long eggs in her lifetime, which is only a few months. These eggs are small enough to fall through a regular size screen after being laid.
You will need to modify the top shelf so when the adult beetles lay their eggs, they will not get eaten. This can be done by applying a screen to the bottom of the beetle drawer. The eggs are tiny enough that they will fall through the screen and drop down to the middle drawer that is filled with either bran or dried oats.
How to Separate Mealworm Eggs from Beetles
| 1 | Remove top shelf of 3 tier shelf system. |
| 2 | Cut the bottom of the top shelf out, leaving 1/2″ perimeter (all of the way around) on the drawer bottom. |
| 3 | Measure the inside of bottom shelf. |
| 4 | Cut a screen the size of your drawer bottom. |
| 5 | Hot glue the screen to the inside 1/2″ perimeter of your opening that you just cut. |
| 6 | Add oat bran or dried oats before placing darkling beetles in this tier. |
| 7 | Female beetles will lay eggs, but the eggs will fall through the screen to the drawer below. |
Step 3: Purchasing Mealworms
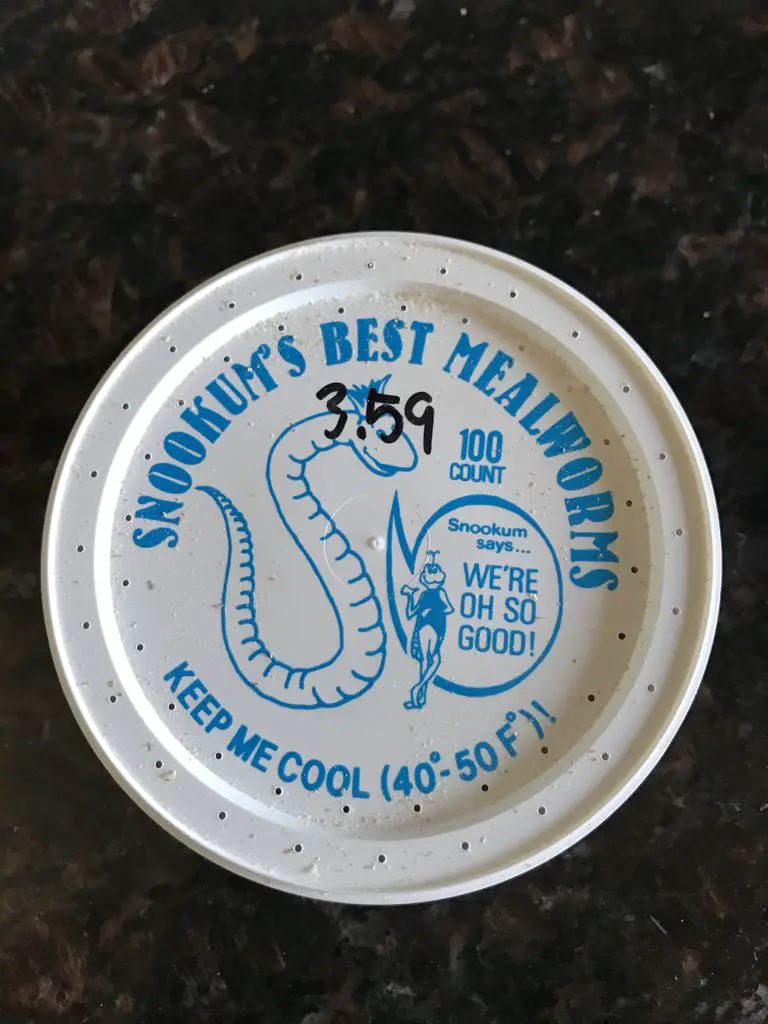
There are different types of worms that you can purchase for your pet at your local pet store; mealworms, Superworms(sometimes called King Worms), Giant Worms and Wax Worms. The setup in this article is for regular mealworms.
They usually keep them in a refrigerator and sell them in quantities of 50 or 100. Worms are kept at a cool temperature, 40°-50℉, to delay the process of metamorphosis.
Current Price List for Mealworms, Superworms, Wax Worms
| TYPE OF WORM | SIZE | COST |
|---|---|---|
| REGULAR MEALWORM | 50 | $1.99 |
| REGULAR MEALWORM | 100 | $3.59 |
| GIANT MEALWORM | 50 | $2.99 |
| GIANT MEALWORM | 100 | $5.99 |
| KING WORM- “SUPERWORM” | 50 | $5.99 |
| KING WORM- “SUPERWORM” | 100 | $8.99 |
| WAX WORM | 50 | $6.49 |
Make sure that you do not make the mistake and purchase “Superworms.” Superworms require a different setup. They are also often treated with a growth inhibitor hormone that makes them sterile. They will still pupate into beetles, but they will not produce more worms.
How Many Mealworms do You Need to Start a Farm?
By starting your own mealworm farm, you will only have to invest in the initial container of mealworms. If you want to do it on a little bit larger scale, you can invest in 500 live mealworms. Just remember, 1 female beetle will lay up to 500 eggs in her lifetime.
| IF YOU START WITH… | ONE CYCLE WILL BECOME… |
|---|---|
| 50 MEALWORMS | 25,000 MEALWORMS |
| 100 | 50,000 |
| 250 | 125,000 |
| 500 | 250,000 |
For more information on raising, feeding or caring for mealworms, please visit Mealworm Care.
Step 4: Adding Substrate to Your Mealworm Farm
What is the Best Bedding for Mealworms?
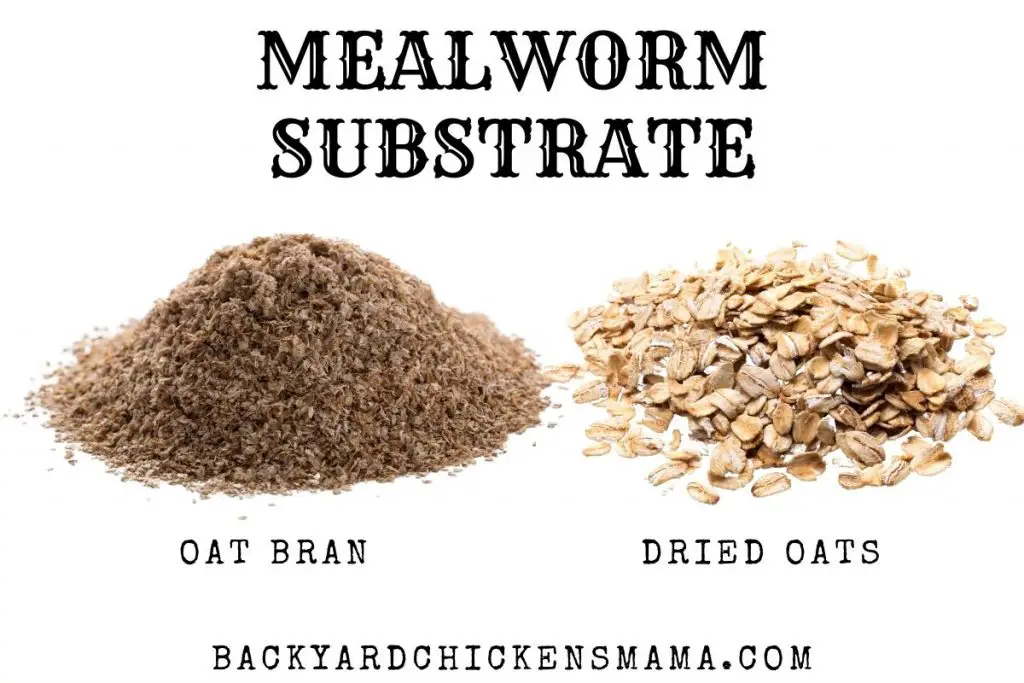
Bedding is the material that you add to the mealworm breeding trays. It is in this substrate that the mealworms will get nourishment to grow. The most popular substrates used to breed mealworms are oat bran and dried oats.
| MEALWORM BEDDING/SUBSTRATE |
|---|
| DRIED OATS |
| WHEAT BRAN |
| OAT BRAN |
| CORNMEAL |
| CRUSHED WHEATIES |
| CRUSHED CHEERIOS |
| CRUSHED CHICKEN FEED |
Add about 2″ of substrate to the bottom drawer of your mealworm farm. This is where you will also put your mealworms that you purchased at your local feed store.
Step 5: Feeding Your Mealworm Farm
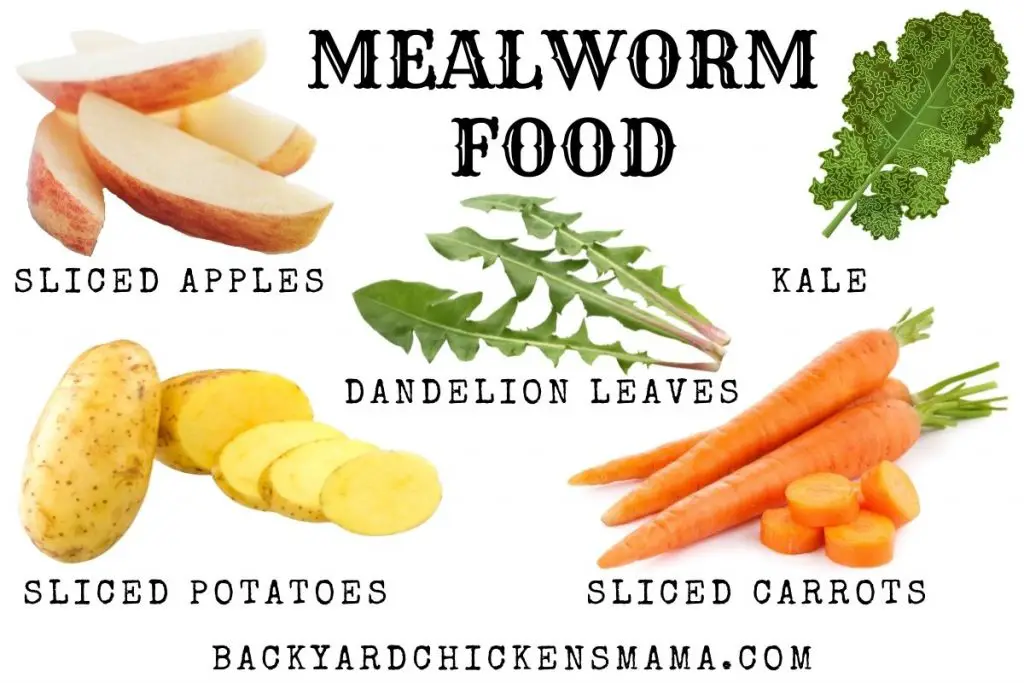
Mealworms and Darkling Beetles need a food source that will provide hydration so they can grow. If you do not provide enough water, they may resort to cannibalism to stay hydrated.
Just make sure that you check the trays frequently and remove dried out pieces of food. You don’t want the food to start molding and spread throughout the substrate.
To prevent molding from spreading throughout, you can place a thin piece of paper under the food.
What do Mealworms Eat?
| TOP 10 FOODS | WHAT DO MEALWORMS EAT? |
|---|---|
| 1 | CARROT SLICES |
| 2 | SLICED POTATOES |
| 3 | APPLE SLICES |
| 4 | KALE LEAVES |
| 5 | LETTUCE LEAVES |
| 6 | DANDELION LEAVES |
| 7 | DRIED OATS |
| 8 | OAT BRAN |
| 9 | KIWI |
| 10 | BERRIES |
Step 6: Larvae Turn to Pupae

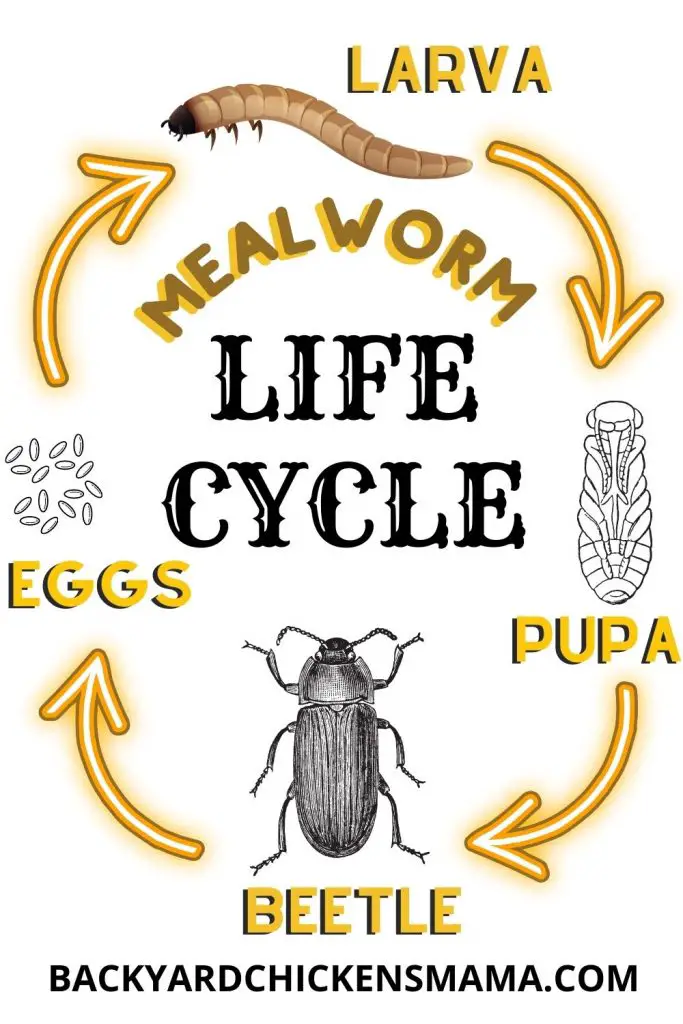
Mealworms will constantly eat the substrate and any fresh fruits or vegetables that you give to them. This is what helps them to grow. They will shed their exoskeleton several times before transforming into a pupa.
It takes about 12 weeks for the larvae (mealworms) to turn into pupae. When this happens you will want to check the tray more frequently to remove the pupae and place them in the top tray.
Mealworm Pupa Care
•I like to place the pupae in a separate container in the top tray.
•If you saved the container that your mealworms came in, this is perfect for the pupae!
•Add a little bit of substrate on the bottom of the container before placing them in there.
•Pupae don’t eat anything, but if they turn into a beetle, the food will be there for them.
Step 7: Pupae Turn to Darkling Beetles

It takes between 14-21 days for a pupa to turn into a Darkling Beetle.
Darkling Beetle Care
•Once the pupa turn into a Darkling Beetle, remove them and place them into the top tray.
•Make sure that you have about 2″ of substrate for the beetles to burrow in.
•You can also add some sliced carrots or potatoes. This will provide moisture for the beetles.
•The Darkling beetle likes dark, dry places.
•Provide some empty cardboard egg crates or empty toilet paper rolls (cut in half) for them to hide under.
Step 8: Beetles Lay Eggs

For the next 60-90 days the beetles will mate and the female beetles will lay 70-100 eggs at a time. She will lay up to 500 eggs throughout her lifetime.
Darkling Beetle eggs are only about 2 mm in length. They are small enough to fall through the screen and down to the middle drawer.
Darkling Beetle Egg Care
•Make sure that your middle drawer is filled with 2″ depth of substrate for the eggs to fall down onto.
• Darkling Beetles do not eat anything, so you do not need to add any food.
•Darkling Beetles will hatch into very tiny baby mealworms in about 10-12 days. They will be very difficult to see when they first hatch.
With proper temperature, humidity and food these baby mealworms will turn into pupae in about 8-10 weeks.
Step 9: Feeding Your Chickens and Lizards Mealworms
If you want to feed mealworms to your pet, they are full grown when they reach 1″-1.5″ in length.
Full grown chickens, ducks, Geckos, Bearded Dragons and lizards will eat any size mealworm. The pupae make a tasty treat too. Baby chicks, ducks and lizards have an easier time eating the smaller mealworms.
Like any food, mealworms must be given in moderation. Do your homework before feeding your pet mealworms. The amount of mealworms that should be fed to your pet will vary depending upon their species and age.
For example, adult chickens can be fed up to 10 live mealworms a day, 3 times a week. Geckos should eat 2 mealworms for every inch that they are. So a 4″ Gecko should eat 8 mealworms a day. Making sure that you feed your pet properly is very important for their health and well being.
If you want a good laugh, throw a handful of mealworms or Darkling Beetles out to a flock of chickens. They love chasing each other around with a worm or beetle hanging out of their mouth!
For more information on feeding your chickens high protein treats during molting and other times of high stress, please read my article How to Make High Protein Treats for Molting Chickens.
FAQ – Breeding Mealworms
Conclusion: How to Breed Mealworms at Home- Best Home Setup Guide
The 3 tier breeding tray system is definitely the best mealworm farm setup. Now that you know how to start your own mealworm farm, why not give it a try? Providing increased protein at certain times during a pets life is essential for their health, well being and survival. Making your own home setup is simple to do and will save you lots of money in the long run!

