Step by Step Guide to Helping a Stuck Chick Hatch
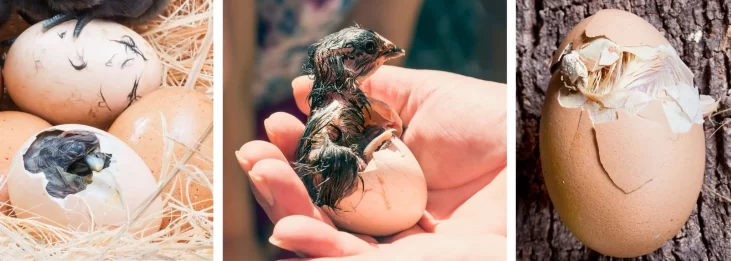
I only suggest that you assist a chick in hatching if it has been over 24 hours since it internally pipped or you can visually see that it is “shrink wrapped,” making it impossible to hatch.
Knowing the signs to look for that will tell you a chick needs your help will help to increase the odds of it surviving.
Problems Helping a Chick Hatch Too Early
- Intervening too early can result in the yolk sac not being fully absorbed, resulting in the chick dying shortly after the assisted hatch.
- With too early of an intervention, blood vessels that have not completely receded can rupture, causing it to bleed to death.
DO NOT REMOVE ANY EGG SHELL OR MEMBRANE IF YOU SEE BLOOD VESSELS THAT HAVE NOT RECEDED. A BABY CHICK CAN BLEED TO DEATH IF THESE BLOOD VESSELS ARE DAMAGED.
How Does a Chick Become Shrink Wrapped?
Chicks can become shrink wrapped or stuck to the cell membrane. This occurs for two main reasons:
| CAUSES FOR SHRINK WRAPPED CHICKS | |
|---|---|
| 1. | QUICK DROP IN HUMIDITY LEVEL POSSIBLE CAUSES: -INCUBATOR OPENED DURING LOCKDOWN -POWER OUTAGE |
| 2. | HUMIDITY LEVEL TOO LOW THROUGHOUT ENTIRE INCUBATION PROCESS. |
10 Steps-How to Help a Stuck Chick Hatch
STEP 1: Gathering Materials for Assisting a Chick Hatch
- Clean hands
- Bathroom with warm shower water running
- Shallow bowl of 95℉ warm water
- Clean paper towels
- Clean washcloth
- Tweezers (not sharp)
- Blue Dawn Dish Soap
STEP 2: Sterilizing the Environment for an Assisted Hatch
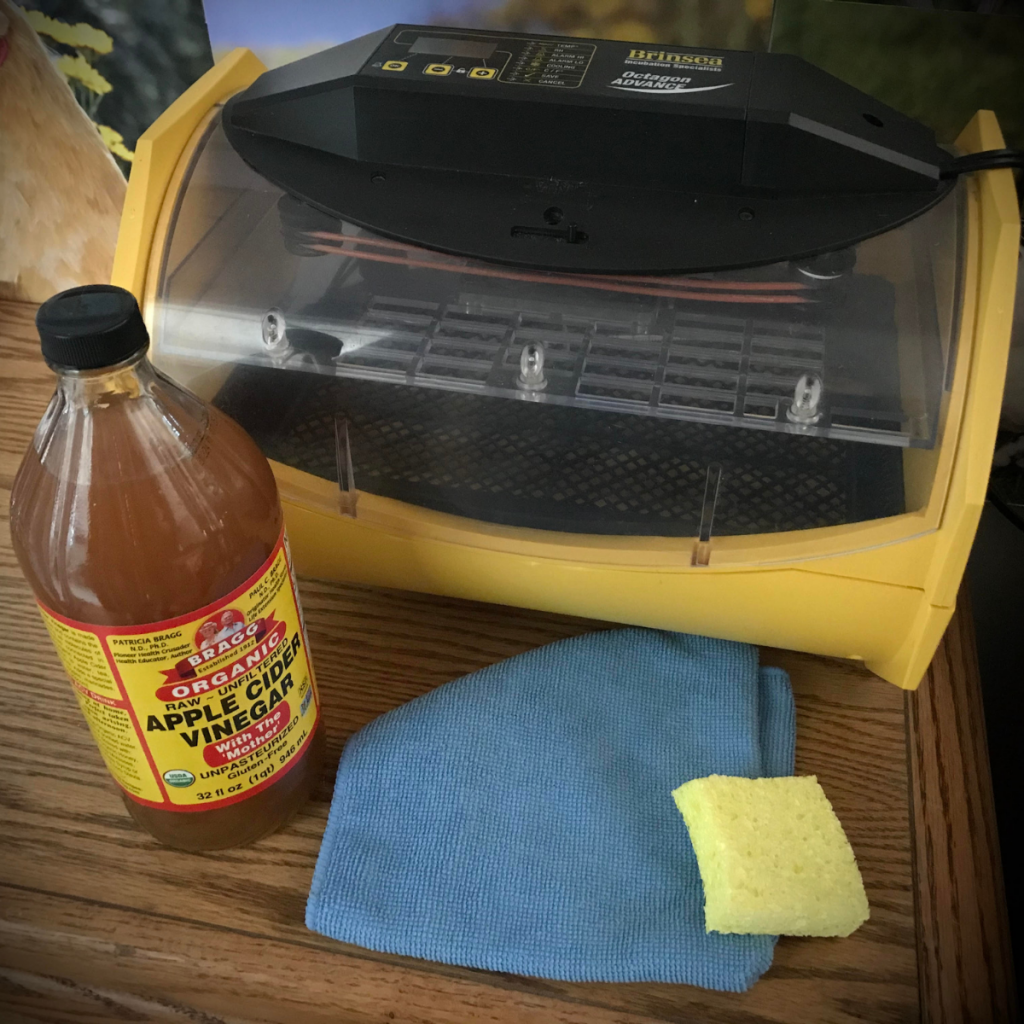
Newly hatched baby chicks are at increased risk of developing diseases, especially if they are struggling to survive. Sterilizing the environment for an assisted hatch involves washing your hands and anything that will come into contact with the chick during the assisted hatch.
- Wash your hands
- Use clean paper towels
- Use clean washcloth
- Use distilled water
- Sterilize tweezers
- Sterilize counter top where you will be working with chick
- Have blue Dawn Dish Soap handy for later steps
STEP 3: Simulating Incubator Environment
If you have other chicks still hatching, you don’t want to risk them becoming shrink wrapped too. Take your incubator into a warm, humid environment. A bathroom with a running warm shower works perfect.
In order to avoid the rest of your chicks from becoming stuck inside their shells, you want to prevent the humidity from dropping so drastically when you open the incubator.
You can do this by simulating the same temperature and humidity inside the room that you are going to be working on assisting the chick hatch.
- Place the incubator on a stable counter inside the bathroom, taking special care to keep it away from water.
- Plug it in to help maintain proper incubator temperature and humidity.
- Use a hygrometer to measure the bathroom temperature and humidity.
STEP 4: Begin Removing Egg Shell Over the Air Cell
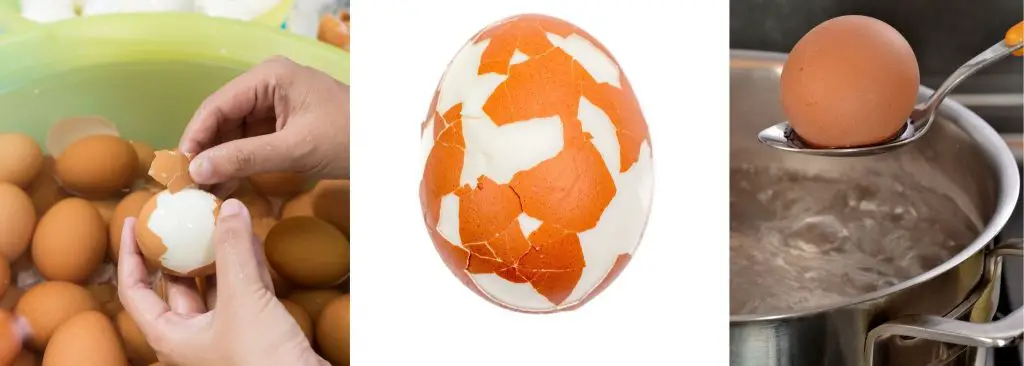
Start by gently removing more of the egg shell only in the air cell area. This can be done by using either your fingers or using a set of sterilized tweezers (not sharp).
DO NOT PULL ANY SHELLS BELOW THE AIR CELL LINE at this time.
At this time, you want to only expose part of the chick in the air cell region only. If you see the beak, remove membranes from around the beak and nostrils.
After Step 5 and 6 you will be placing the egg back into the incubator to give the chick a chance to work on its own to break out of the shell.
By nature, chicks know when they are ready to hatch and will wait until they have fully absorbed their yolk before emerging from their shell. Pretty smart!
For Steps 4, 5 and 6: perform them carefully, returning them to the incubator as soon as possible. The best environment for the chick is inside the incubator. (Actually it’s 2nd. The BEST is under mama hen!)
STEP 5: Moisten Exposed Membranes
- Dip a clean finger into 95℉ warm distilled water and gently moisten the exposed membranes.
- Take special care to avoid the beak and nostril area.
STEP 6: Loosely Wrap Egg in Warm Paper Towel
- Soak a clean paper towel in 95℉ warm water.
- Loosely wrap the egg in the warm, damp paper towel.
- Place the egg back into the incubator.
STEP 7: WAIT: Give the Chick Time to Hatch on Its Own
- WAIT. Give the chick time to hatch on its own.
- Giving it this time will help to ensure that it is ready to hatch. This way you are less likely to intervene before it fully absorbs the yolk.
- During this time the blood vessels should gradually recede, making it safer to assist with hatching.
- WATCH the chick. Is it able to rotate in the shell? Is it making progress with hatching? Sometimes, just doing this much is enough to free the chick from the membrane.
- Chicks instinctively know when they are ready to hatch. This is why it is important to place the chick back into the incubator after moistening the exposed membranes and gently wrapping the egg in a moist paper towel.
- If the chick is making progress, let it hatch on its own. Otherwise, move on to Step 8.
- Pro Tip: I find that tapping on the incubator window and talking to the unhatched chicks helps to stimulate the chicks to start chirping and trying to hatch.
STEP 8: Moistening Egg Membranes and Continuing to Remove Chick Egg Shell
For this step, alternate between the following:
- Removing parts of the egg shell
- Moistening the membranes
- Removing some of the membranes without blood vessels attached
- Placing it back into the incubator to work on hatching on its own
Tips for Assisting a Chick Hatch
- If you notice that the chick is actively struggling to get out of its shell, remove it from the incubator and gently take pieces of the shell off with either your hands or using the tweezers.
- Only remove parts of the membrane that you can visibly see are free from any blood vessels.
- If at any time you see that the blood vessels are not totally receded or that the yolk is not completely absorbed, STOP assisting and place it back into the incubator. It is too soon to hatch.
- Alternate between removing some egg shell, moistening the membrane, removing parts of the membranes and then placing it back into the incubator.
- The idea is to let the chick do as much of the hatching on its own.
STEP 9: How to Wash a Sticky Chick
Chicks can become “sticky” when they are exposed to too much albumen (egg white) while inside the egg during incubation. This can happen if the humidity level was too high during incubation.
When these chicks are exposed to a quick drop in humidity during hatching, it can cause the albumen to harden against its skin, making it impossible to rotate within the shell and hatch.
Sticky chicks should be washed and placed back into the incubator until they are completely dry.
10 Simple Steps – Washing a Sticky Chick
- Keep the chick incubator set up and running. You will be placing the chick back in there after washing it off.
- Fill two shallow bowls with 1 inch of warm, distilled water. The temperature in both bowls should be 95℉.
- Add 1 tsp of blue Dawn Dish Soap to one of the bowls and mix it up until it is thoroughly mixed in and little bubbles form. Blue Dawn Dish Soap is used by animal rehabilitation centers for cleaning animals, including chickens.
- Place the sticky chick in the bowl of warm, bubbly water. Take special care not to get the chicks face in the water.
- While the chick is standing in the warm water up to its shoulders, use a warm washcloth and gently clean the chicks head off.
- Within 1-2 minutes of standing in the water, it should soften the hardened albumen. You should be able to use a clean washcloth and gently rub all over its body to remove it.
- Remove the chick from the soapy water and place them in the second bowl that is filled with warm soapy water.
- Use a clean washcloth to clean the chicks head and face, followed by rubbing it all over the rest of its body.
- Place the chick in a warm, dry washcloth. Gently rub the excess water off.
- Place the chick back into the warmed incubator and leave it there until it is completely dry. It should look like a little fluff ball before you place it into the brooder box with the rest of the newly hatched chicks.
STEP 10: Keep Chick Quarantined in Incubator Until Completely Dry
It’s important to towel dry the chick and quickly place it back into the warmed incubator.
Don’t put it into the brooder box with the rest of the newly hatched chicks until it is completely dry. A wet chick placed inside a brooder box, will only get the rest of the chicks wet and chilled by trying to huddle with them to keep warm.
When the chick looks like an adorable little fluff ball and is actively walking around the incubator, it is ready to be placed in the brooder box with the rest of the newly hatched chicks.
CONCLUSION: 10 Steps to Help a Stuck Chick Hatch
- Gather the essential materials.
- Sterilize the environment that you will be working in.
- Find and prepare a room that you can simulate the incubator environment.
- Begin removing part of the egg shell over the air cell area only.
- Moisten egg shell membranes
- Loosely wrap egg in moist paper towel and place back into the incubator.
- WAIT
- Moisten membranes, remove more egg shell and membranes. Place back into the incubator. Repeat.
- Wash sticky chicks.
- Quarantine chicks in incubator until completely dried off.

